There are countless numbers of butternut squash soup recipes out there. Honestly I am hesitant to say which I think is best. There are way too many options that are so very good. I picked this one because I enjoy the many ingredients that highlight apples.
I absolutely
looooove apple cider. I feel like it's just one of those components that dictates the onset of fall. I know we'll soon be moving into winter here but it's still October so stay with me here!
The cider cream in this recipe is obviously optional. It is simple to make and adds an extra "something special" to this soup. The creamy cool, tanginess of the topping is a fantastic contrast to the warm, smooth soup. Cozy...
Please,
please,
pleasssse... when you use leeks, you NEED to wash them! This is how I do it- I slice the leeks however dictated in the recipe, then I place them in a bowl of water and gently push the rings apart so that the sand in between the layers can come off. Let them sit in the water for 5 minutes or more. The sand and dirt will be gathered at the bottom. I pick them up in handfuls, right out of the water without disturbing the water much. Lay them out on paper towels or a cloth and pat them dry. No matter how clean you think your leeks are to begin with, trust me they are NOT. I've had too many meals ruined by the sand in leeks... definitely learned my lesson the hard way.
Butternut Squash Soup with Cider Cream
adapted from "
The Bon Appetit Cookbook" by Barbara Fairchild
Print Recipe
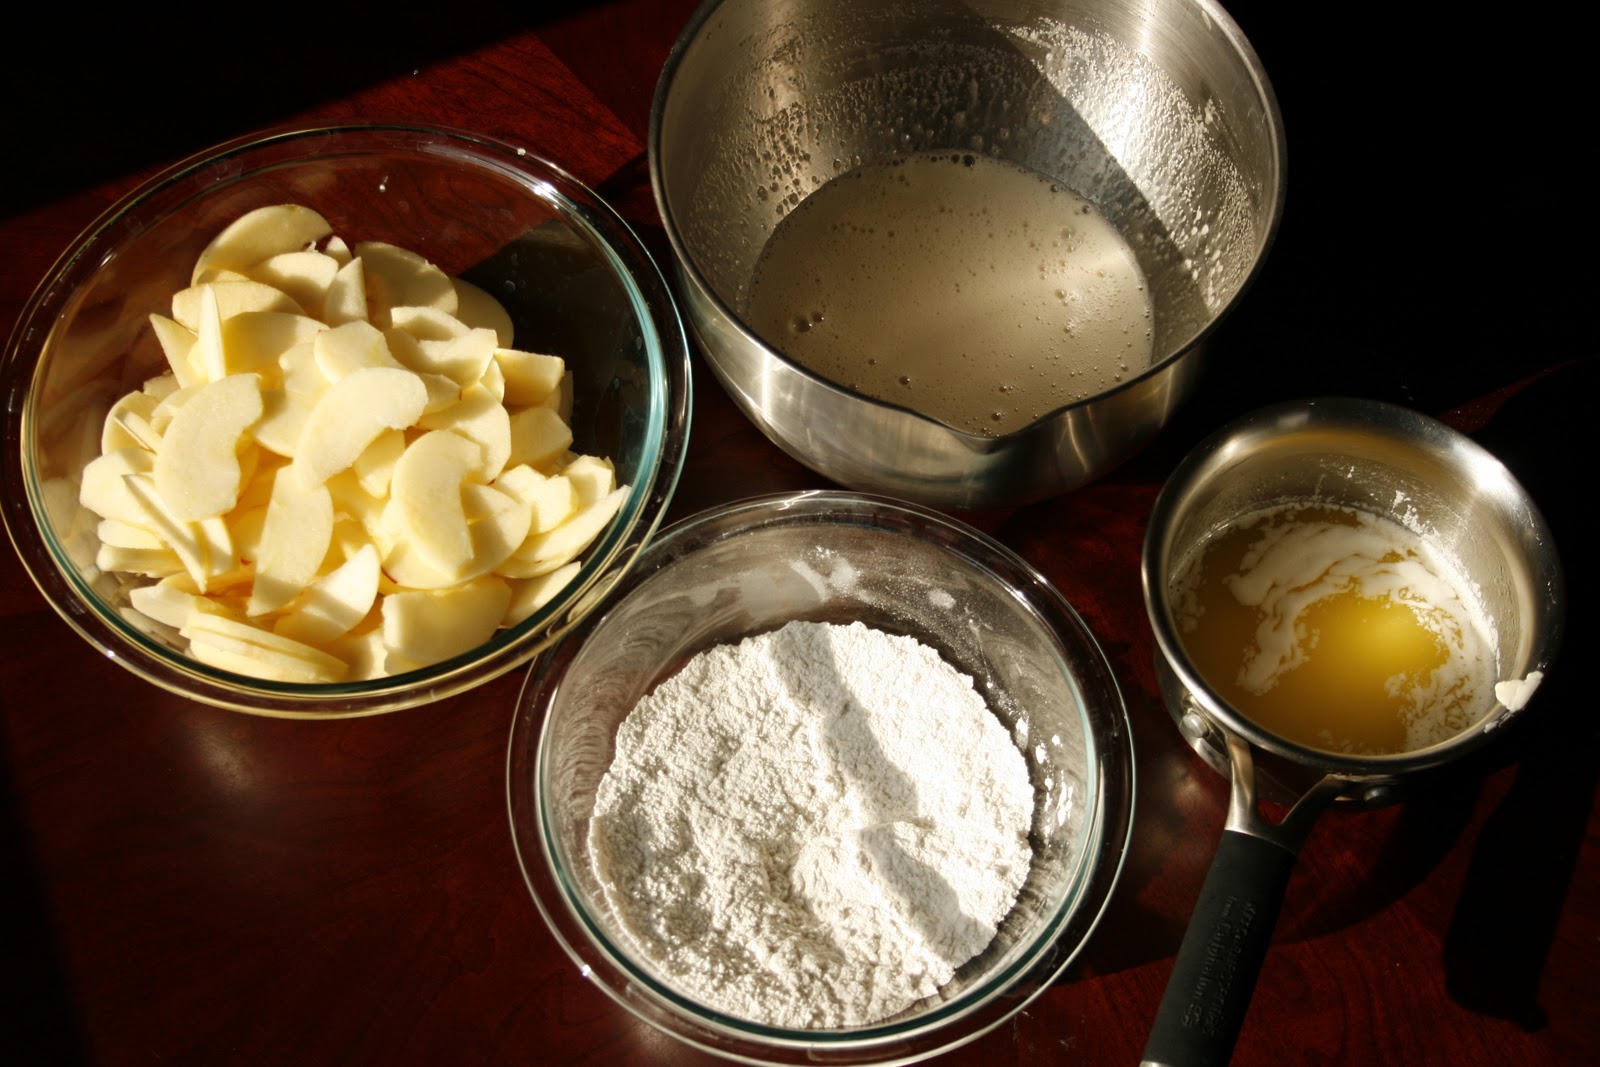
5 Tb butter
2 1/2 lb butternut squash, cubed and roasted (about 6 cups)
2 cups chopped leeks (white and pale green parts only; about 2 large)
1/2 cup chopped peeled carrot
1/2 cup chopped celery
2 small granny smith apples, peeled, cored, and chopped
1 1/2 tsp dried thyme
1/2 tsp dried sage leaves
5 cups low salt chicken broth
1 1/2 cups apple cider, divided
2/3 cup sour cream
1/2 cup whipping cream
Melt butter in heavy large pot over medium-high heat. Add squash, leeks, carrot and celery. Saute until lightly softened, about 15 minutes. Mix in apples, thyme and sage. Add broth and 1 cup cider.; bring to boil. Reduce heat to medium-low, cover, and simmer until apples are tender, stirring occasionally, about 30 minutes. Cool slightly.
Working in batches, puree soup in blender until smooth. Return soup to pot. Or puree with immersion blender. Season to taste with salt and pepper.
Boil remaining apple cider in heavy small saucepan until reduced to 1/4 cup, about 5 minutes. Cool. Place sour cream in small bowl. Whisk in reduced cider.
Mix whipping cream into soup. Ladle soup into bowls and serve with dollop of cider cream.